Let’s talk software!
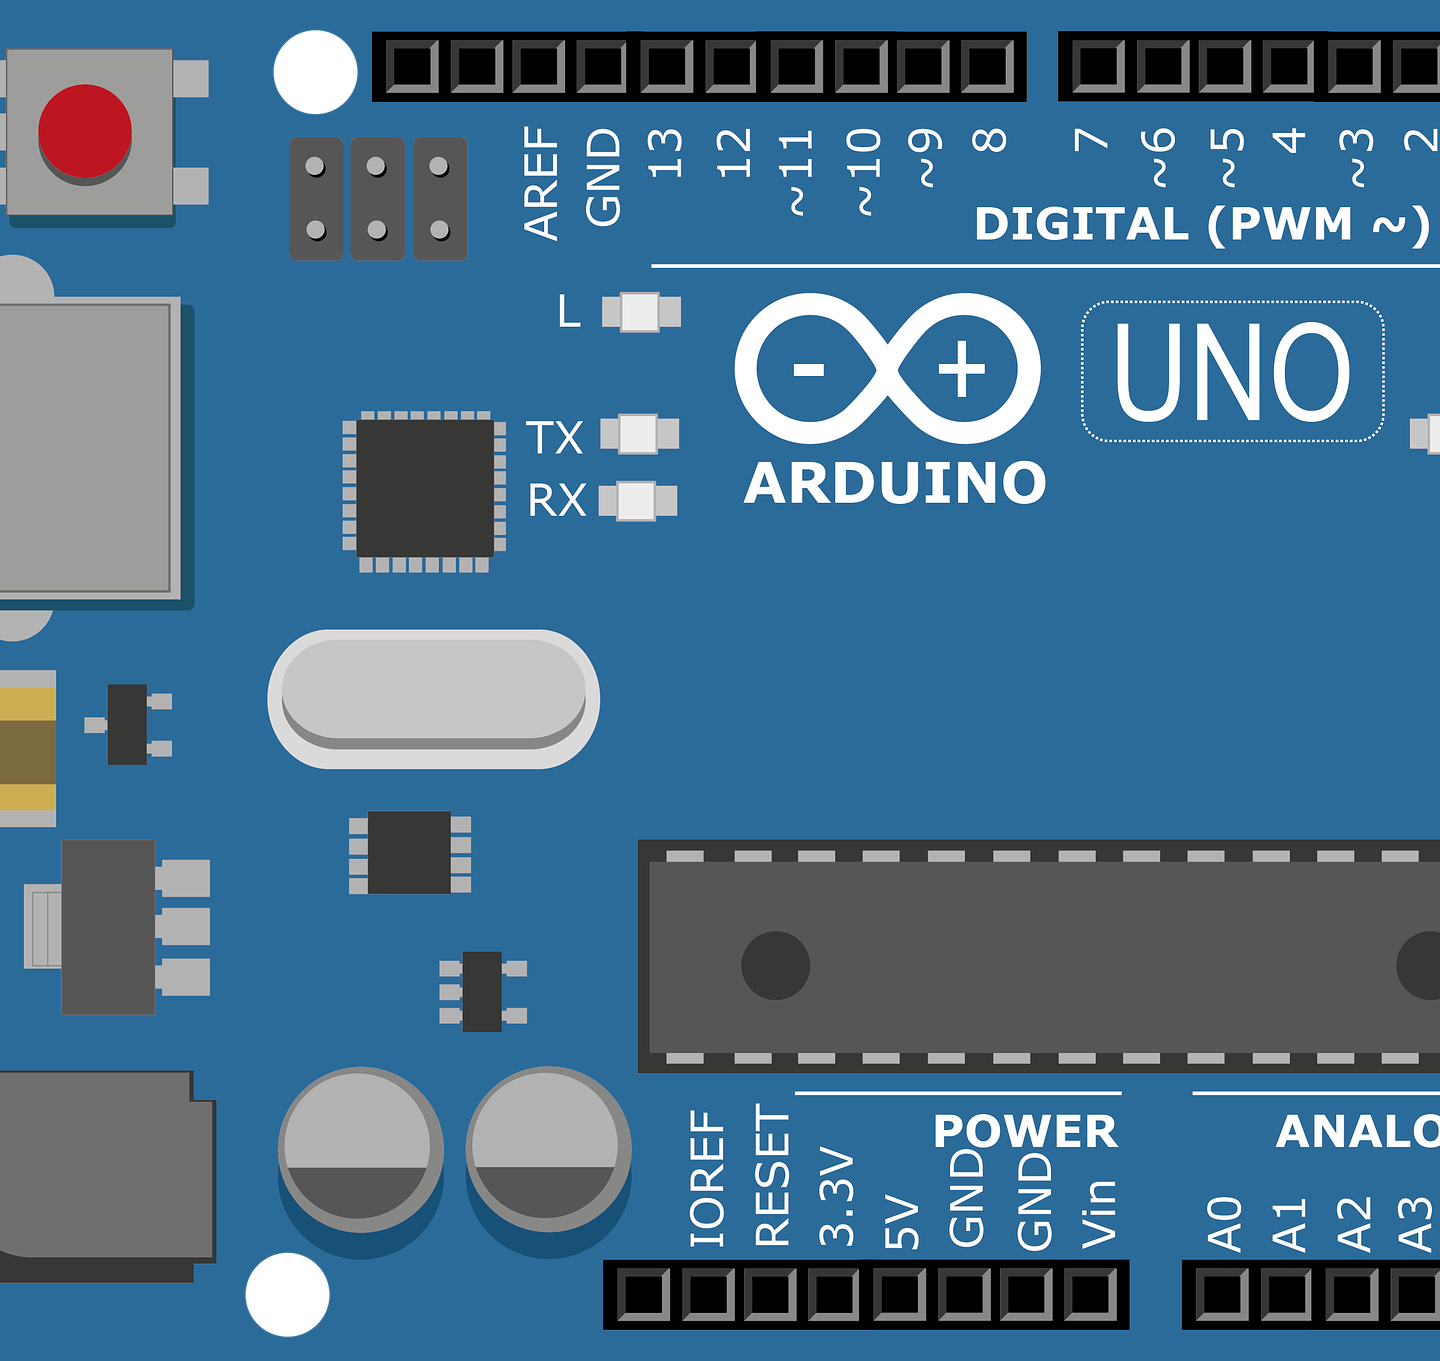
So we just bought our new shiny blue Arduino UNO, we know where stuff on the board is and we want to use it to create magic. The first thing we have to consider is getting to a computer and installing the IDE. Well not exactly, you could use the web IDE also, but for the sake of keeping it simple I’ll keep this post about the desktop IDE.
Arduino IDE 1.8.2
Installing the IDE adds the necessary drivers and software to compile (avr-g++) and transmit (averdude) the sketches to the Arduino board. By the way programs are called sketches and saved with the .ino file extension. This name was chosen because it invokes the “quick and dirty” way that programs can be written. The Arduino IDE is based on the Processing IDE and the Processing IDE is directed foremost towardsartists: “For the past fourteen years, Processing has promoted software literacy, particularly within the visual arts, rolex replica watches and visual literacy within technology.” – https://processing.org/overview/ so there’s an example of great things being iterated on and growing.
The IDE itself is simple enough:

The top 5 green buttons on the left are:
- Verify – tries compiling the sketch to check for errors
- Upload – uploads the board to the board
- New file
- Open
- Save
And the right button is for the serial monitor
Above that are the usual file manipulation buttons:
- The file menu which mainly deals with opening closing, saving our sketches and also printing them. Here there’s also the Preferences tab where I suggest going in and check the “Display line numbers” box and maybe also increase the font size.
- The Edit menu deals with text editing and has a few more interesting options such as Copy for Forum and Copy as HTML which makes our copied code properly formatted in these environments (and which will be quite useful here)
- The Sketch menu deals in compiling, uploading and including extra files. The most important function here is “Include Library” which allows us to import our own libraries or search for existing ones in the Arduino repositories.
- The Tools menu includes tools for formatting the sketch, serial tools, board and programmer selector. The most important stuff here is the board selection. Usually this is done automatically by the Arduino software at startup. But let’s say you have 2 boards: you can select what board type is on what USB port and program the corect one. At the board selection menu you can also install definitions for new boards.
- Help contains relevant documentation for whenever you get stuck, all the items are available on-line
Sketch anatomy
In the File menu there’s an examples tab. Loading the 01.Basics-> BareMinumum example gives us the base essentials for a sketch:
void setup(){
 // put your setup code here, to run once:

}

void loop(){
 // put your main code here, to run repeatedly:

}
A sketch has to include a setup function and a loop function.
The setup function is called once the Arduino is powered or after a reset. Here we can initialize variables, start using libraries, setup serial coms, setup pin modes etc. Declaring variables, constants importing libraries etc. are done above the setup function
The loop function runs for the entire duration the Arduino is on. The way microcontrollers are programmed means we need to continually execute the same program all the time. A data sensor that is turned on logs 1 data point and after that has to be shut down is not useful to anybody is it?
And this should cover the software basics. Next time in this series I will try looking at a first working sketch and continue with some programming basics. Think I bored people with theory enough for now.